Overview
Generating dynamic OG images in Next.js is easy with using vercel/og package. But if you have a static website, you can't use dynamic features like API Routes. You can check the unsupported features. Puppeteer joins the game to solve this problem. Puppeteer will help us create a screenshot of a custom HTML template, which will serve as our Open Graph image. Another method is to create OG Images with Figma but it can take a lot of time to create a design for each page.
Example result
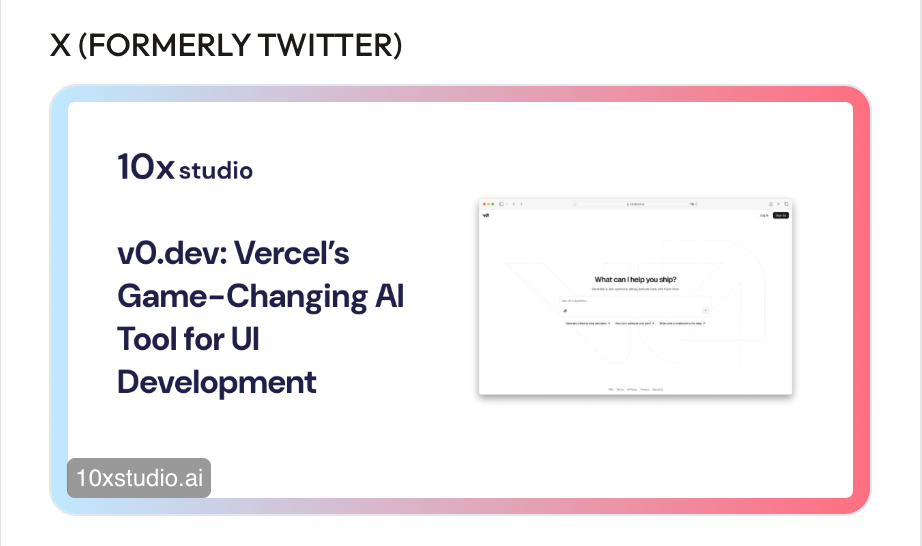
You can use OG Images for your content when you share links on social media, Linkedin, Slack etc.

What are we going to do?
- Use Puppeteer to create a custom script to generate OG images.
- Save the image to the public folder.
- Use the image as preview image in social media.
When we need this?
If you are using "output: 'export'" in next.config.js, you can't use API Routes. So you can use this method.
Create a Custom Script to Generate OG Images
Scenario
We will create a custom script to generate OG images for our blog posts. We will pass dynamic data to the HTML template (like title, description, image, etc.) and generate different images for each blog post with it's own title. Different Html templates(designs) can be used for different pages such as case studies.
Setup the dynamic HTML template
We will create a simple dynamic html template for our blog posts. We will pass the title and description to the template. You can modify the template as you want with using CSS. You can use different font families, gradient colors, etc.
1const blogHtmlTemplate = (title, description) => {
2  return `
3    <!DOCTYPE html>
4    <html lang="en">
5    <head>...</head>
6    <body>
7      <h1>${title}</h1>
8      <p>${description}</p>
9    </body>
10    </html>
11  `;
12};
Create a Custom Script to Generate OG Images
1// generate-og-image.js
2import puppeteer from "puppeteer";
3import fs from "fs";
4import path from "path";
5
6async function generateOgImage({ slug, htmlTemplate }) {
7  // Setup the browser environmentconst browser = await puppeteer.launch();
8  const page = await browser.newPage();
9
10  // Generate the image// Recommended to use 1200x630px for best practices
11  await page.setViewport({ width: 1200, height: 630 });
12  await page.setContent(htmlTemplate);
13  const imageBuffer = await page.screenshot({ type: "png" });
14
15  // Save the image to public/blog/[slug].png
16  const outputPath = path.join(process.cwd(), "public", "blog", `${slug}.png`);
17  // Create the directory if it doesn't exist
18  fs.mkdirSync(path.dirname(outputPath), { recursive: true });
19  fs.writeFileSync(outputPath, imageBuffer);
20
21  await browser.close();
22  return outputPath;
23}
While separating functions into smaller, more focused units is generally a good practice, in this example we've kept the function as a single unit to clearly illustrate the main logic and steps involved. For a production environment, consider refactoring this function into smaller, reusable components for better maintainability and testability.
Use the generated OG image in Next.js
We will use the generated OG image in Next.js. We will use the image as preview image in social media.
1// pages/blog/[slug].js
2export async function getStaticProps({ params }) {
3  // Fetch the blog post data
4  // const blogPost = await fetchBlogPost(params.slug);
5  // Mocked blog post data
6  const blogPost = {
7    title: "Learning Next.js",
8    description: "A blog post about learning Next.js.",
9    // ...
10  };
11
12  const { title, description } = blogPost;
13  const generatedHtmlTemplate = blogHtmlTemplate(title, description);
14
15  const ogImagePath = await generateOgImage({
16    slug: params.slug,
17    htmlTemplate: generatedHtmlTemplate,
18  });
19
20  return {
21    props: {
22      title,
23      description,
24      ogImagePath,
25    },
26  };
27}
28
29export default function BlogPost({ ogImagePath, title, description }) {
30  return (
31    ...
32    <Head>
33      <meta property="og:image" content={ogImagePath} />
34    </Head>
35
36    // or you can create a SEO component to handle all meta tags, and pass ogImagePath to it.
37	<SEO
38      title={title}
39      description={description}
40      ogImagePath={ogImagePath}
41    />
42  );
43}
Considerations
- This approach generates images at build time, which is suitable for static or statically generated pages.
- For truly dynamic content, you might need to implement incremental static regeneration or switch to server-side rendering.
- Be mindful of build times and resource usage, especially for large sites with many pages.
By using this method, you can create custom, dynamic OpenGraph images for your Next.js pages without relying on API routes, enhancing the visual appeal of your shared links across social media platforms.